11 October 2021
Application of Microtape Extensions

STEP 1: CLEANSE
Cleanse your guests hair with a clarifying shampoo to remove all traces of dirt or oil that may cause slippage and then lightly condition their mid-lengths to ends.
STEP 2: DRY
Blow-dry hair smooth and ensure 100% dry.
STEP 3 : SECTION
Always start at the TOP. Take a straight section from the top of your guests occipital bone ensuring that there is enough hair to cover your top row of extensions.
STEP 4: PATTERN
Following a brick work application pattern, take your first sliver of natural hair (about 5mm thick or so it is almost see-though).
STEP 5: APPLY
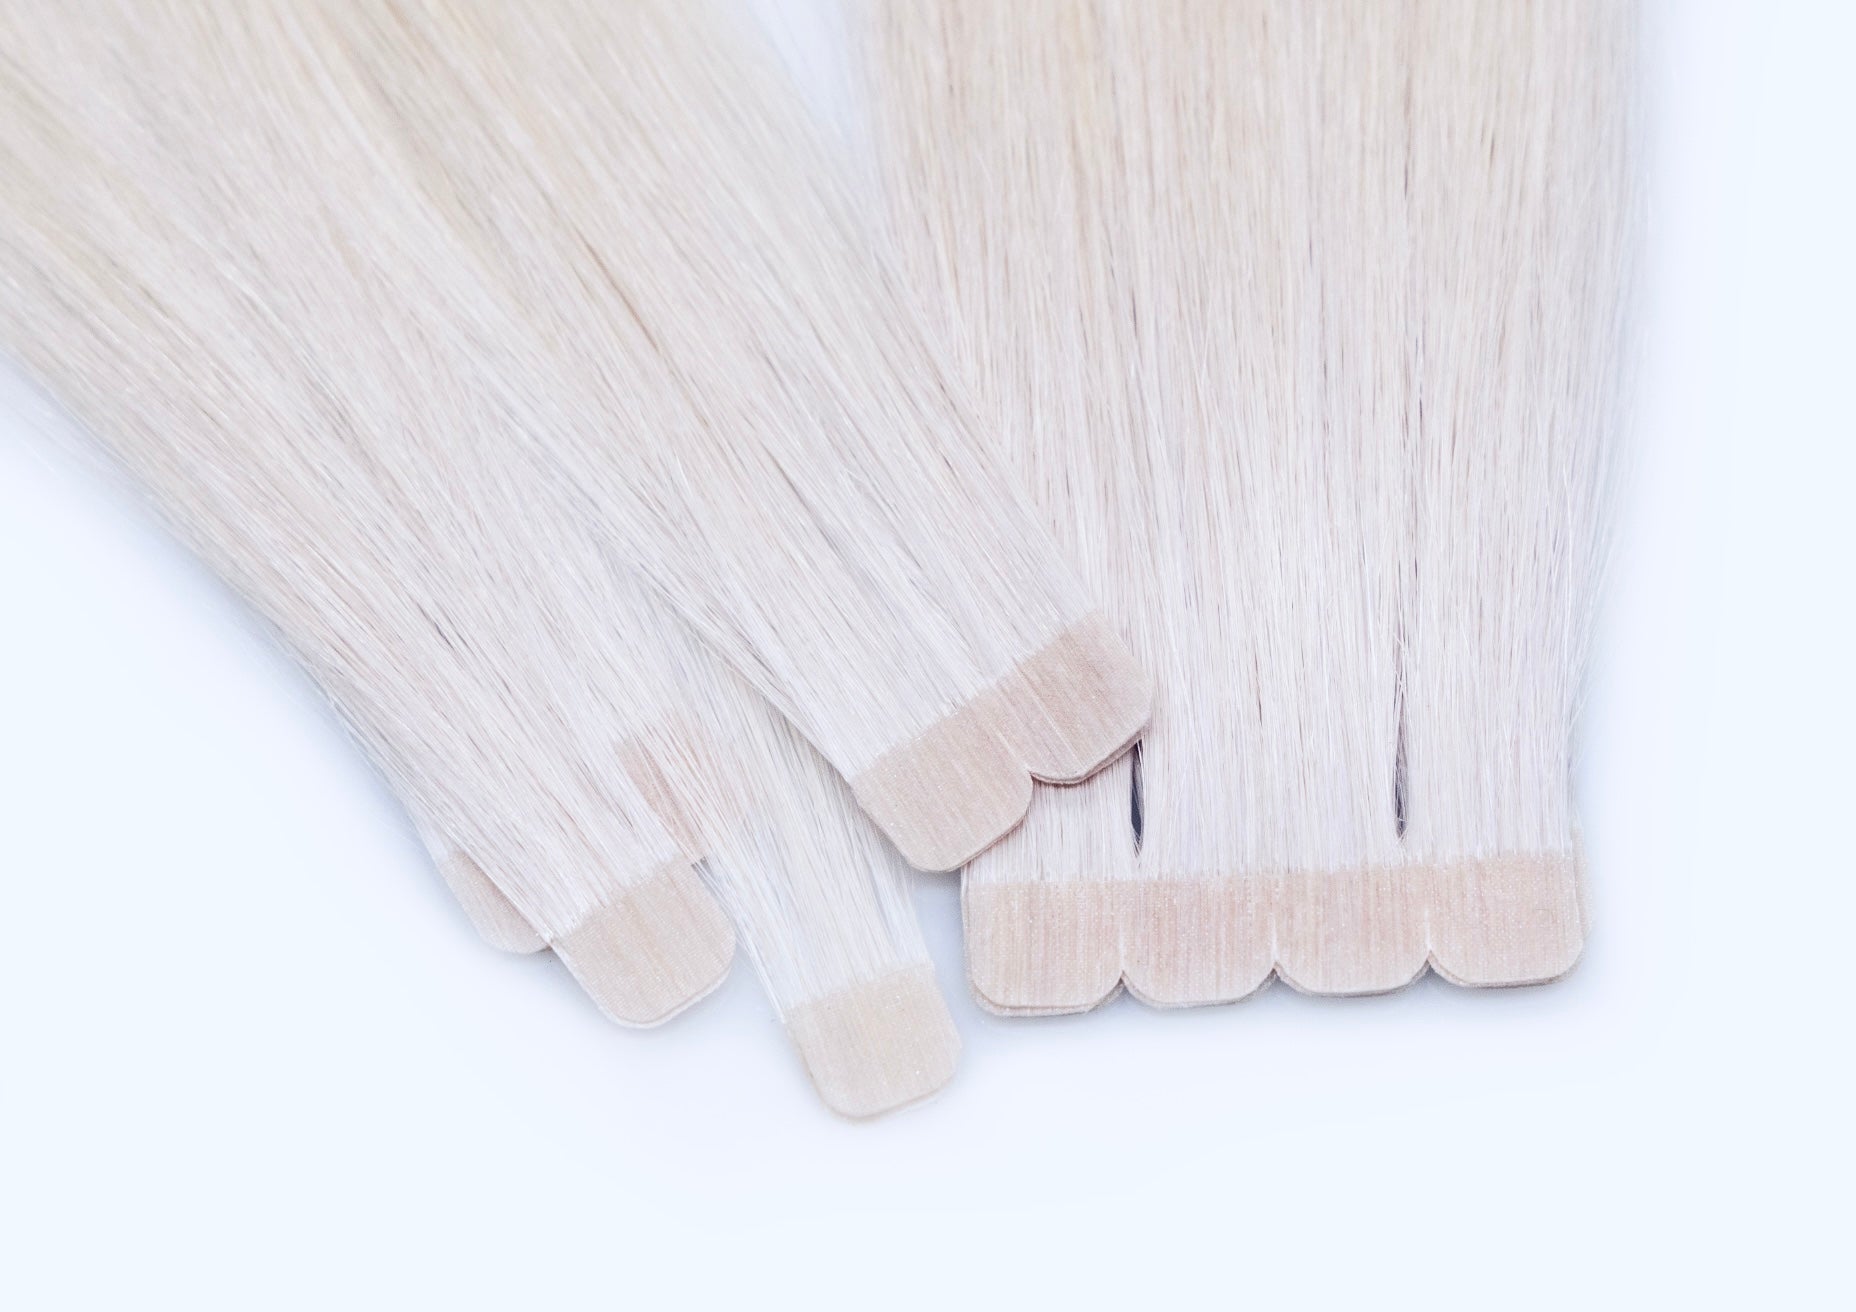
You can apply our MicroTapes in 3 sizes – a Standard size tape, a Mini Tape or a MicroTape. To apply as a Standard size tape simply take your first extension and peel off the paper backing. Allowing at least 2mm of movement from the scalp, align the first extension with the adhesive facing upward underneath of the sliver of natural hair you have taken. Place the hair sliver down firmly on top of the extension adhesive. Remove backing from your second tape extension to be applied to the top of the previously placed extension. Without lifting the section of natural hair from the bottom extension, match the top extension to the bottom extension with the sticky side facing downward. This should secure the section of natural hair between a sandwich of two tape extensions.
To apply as a MiniTape, start by taking your sliver of hair and apply the hair evenly on one side of the tape (leaving one side free of hair completely and not going over the middle of the tape where you will be folding the extension in half) then fold the extension to close over the hair you have placed on the one side of the extension.
To apply as a MicroTape simply cut or tear the standard size tape in half giving you two equal sized parts. Taking your sliver of hair, apply the hair evenly on one side of the MicroTape (leaving one side free of hair completely and not going over the middle of the tape where you will be folding the extension in half) then fold the extension to close over the hair you have placed on the one side of the extension.
STEP 6: SEAL & SECURE
To seal any sized tape – use our Luxx Tape Pliers and press firmly over the bond. For maximum staying power use a very small amount of heat by using a small straightener on low heat for a maximum of 2 seconds to heat up the bond and then press firmly. If too much heat is applied, you can damage the bond of the tape extension so be extremely carful if using this method.
STEP 8: REPEAT
Repeat the process following the brick work pattern.
STEP 9: TIPS
It is best to use MicroTape sized tapes around the front and sides of the head, MiniTape sized tapes around the back sides and Standard sized tapes only at the back of the head where the head sits flat.
Remy Hair Extensions recommends that professional training is undertaken before applying any method of hair extensions. Please contact us for information on our courses.